|
|
|
|
|
 |
|
|
Page 9
|
|
|
|
|
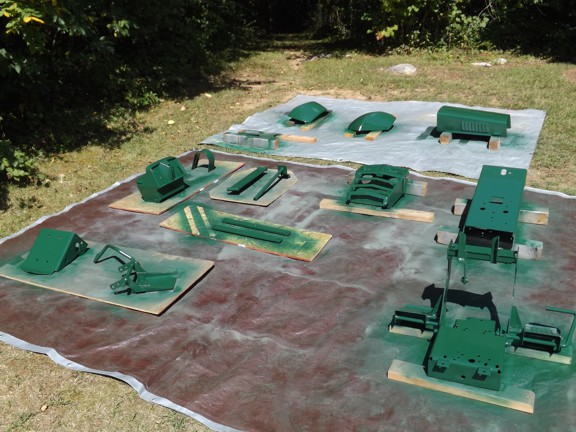
To paint the tractor I used a high performance hunter green enamel spray paint which was super easy to use. I shot two coats in close succession before the paint had cured to ensure good adhesion...
|
|
|
|
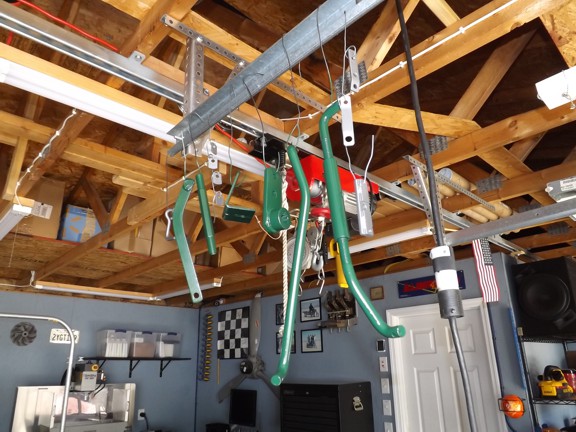
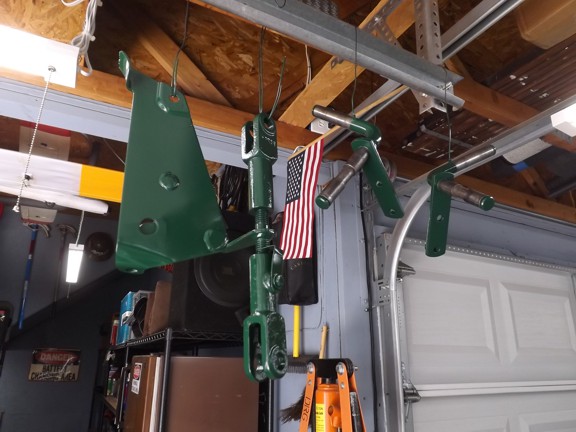
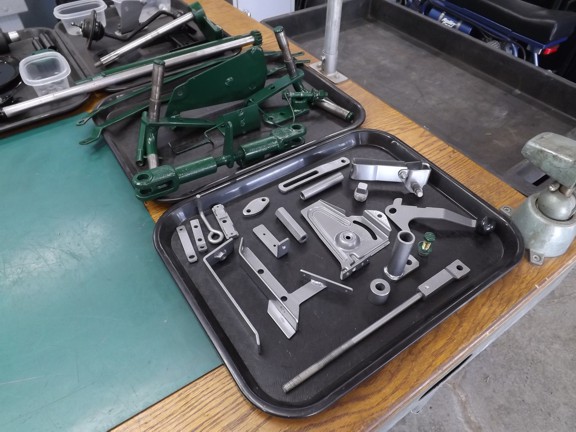
All of the brackets and control rods were also painted and hung up in the shop to cure....
|
|
|
|
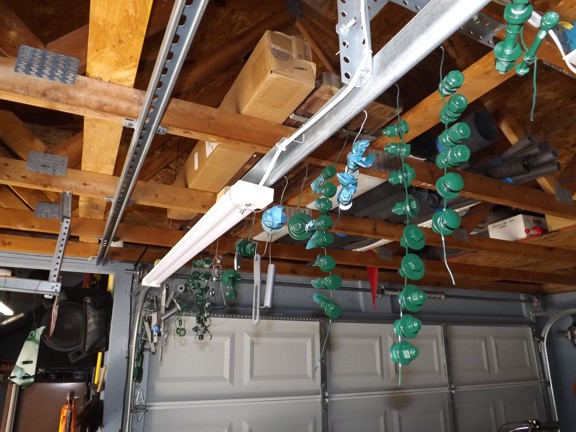
I also sandblasted all of my hardware in my blasting cabinet (not shown) and painted them to match the chassis.
|
|
|
|
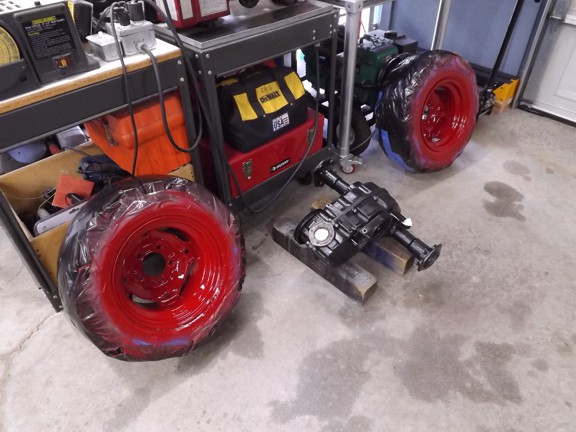
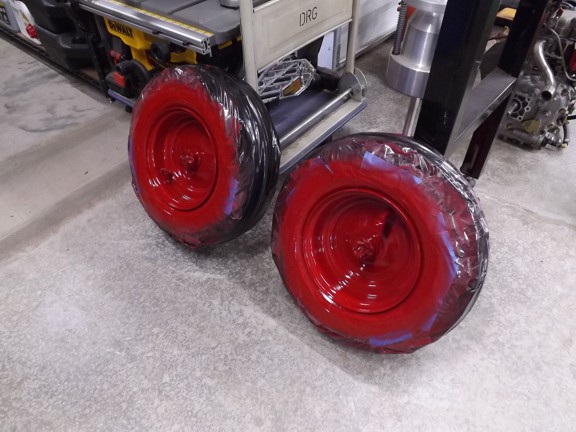
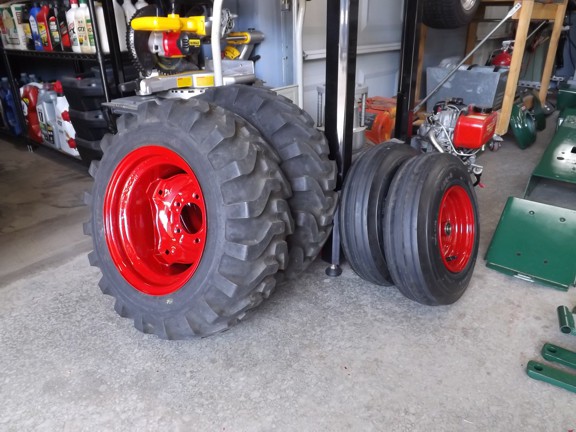
I masked off my wheels and painted them with a regal red enamel which turned out really well without sandblasting...
|
|
|
|
The contrast of green and red really looks nice and served as a nod to my Italian heritage ;0)
|
|
|
|
I used a hammered silver enamel on some of the tractor parts which were originally zinc plated as seen below...
|
|
|
|
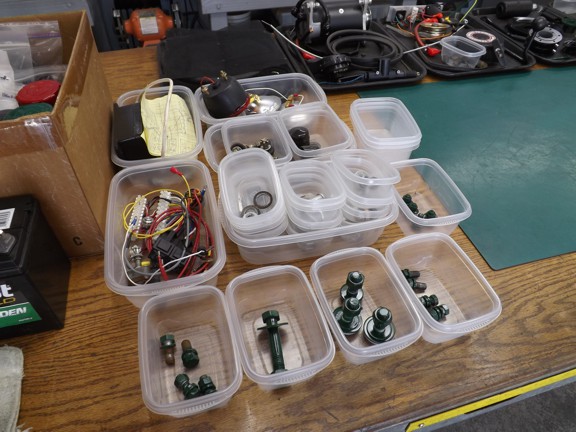
At this point all of the parts were organized and prepared for final assembly. Parts were grouped together to eliminate confusion of where they go.
|
|
|
|
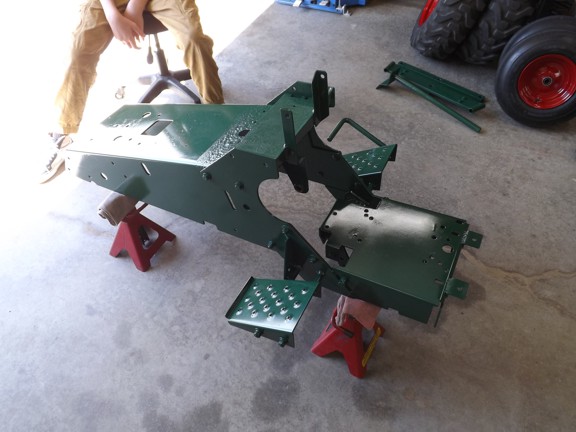
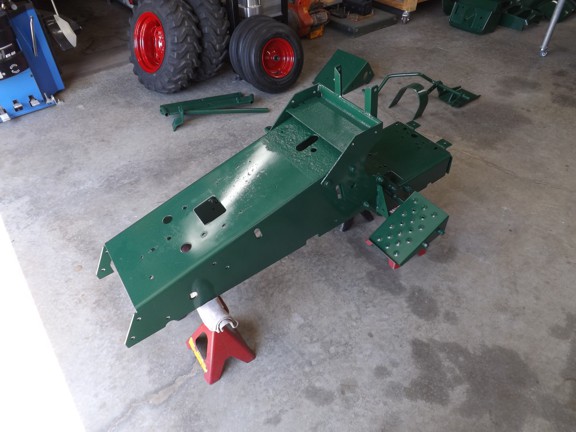
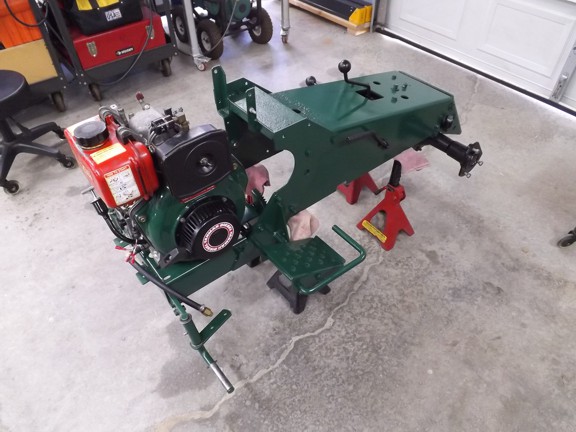
The next step was to bolt the rear chassis to the front section as seen below...
|
|
|
|
Notice the heavy rust pitting under the battery tray (below) due to battery acid leaking. This damage will be covered by the firewall/instrument panel however I did end up patching a slight section that was exposed later on with body filler (not shown).
|
|
|
|
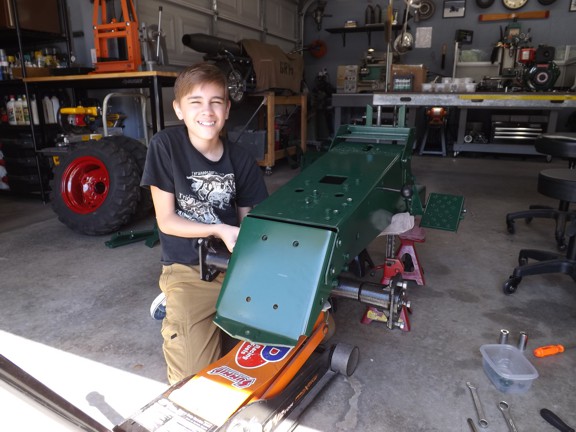
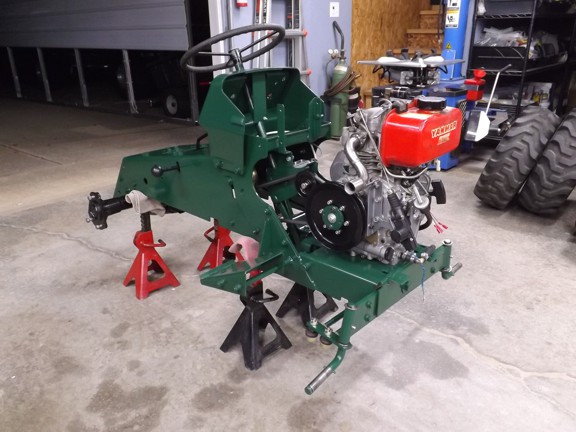
My son Vincent helped me for a while with installing the transmission :0)
|
|
|
|
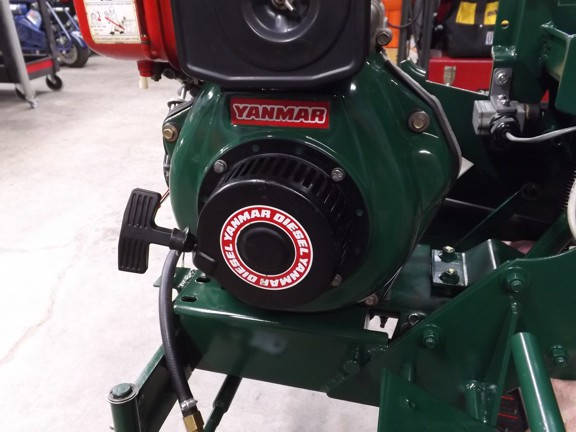
I also painted the fan shroud on the Yanmar to better match the color scheme which turned out really nice!
|
|
|
|
Most of the hardware was touched up with a brush (not shown) after assembly giving the tractor the appearance it was painted as a complete unit.
|
|
|
|
I left some items their original color for contrast which worked out really well.
|
|
|
|
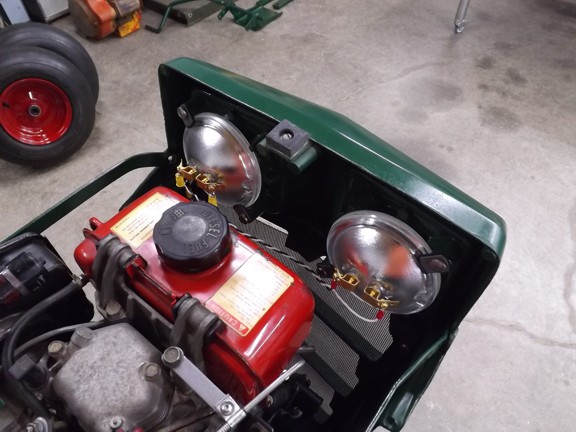
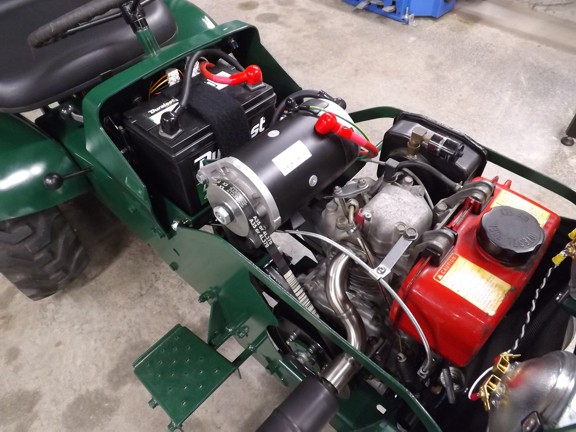
I left the pull starter on the engine as it can be used as a backup if the battery has been drained and the starter wont work...
|
|
|
|
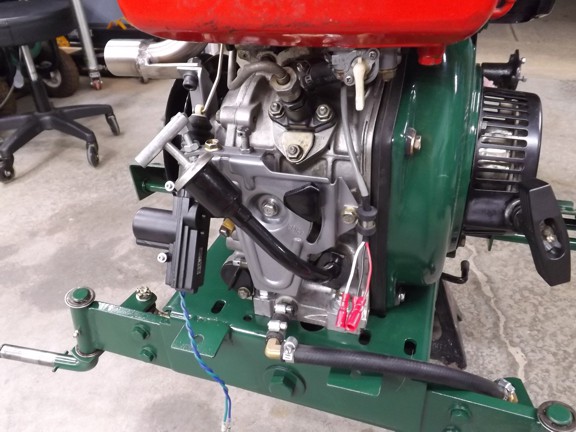
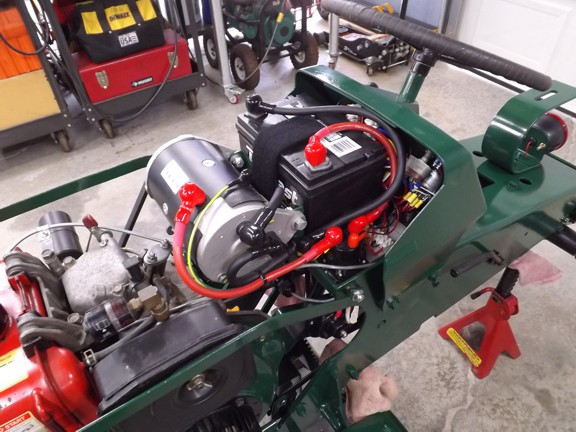
I modified the engine oil dipstick so that it can be accessed from the side of the tractor as well as a remote oil drain hose as seen below...
|
|
|
|
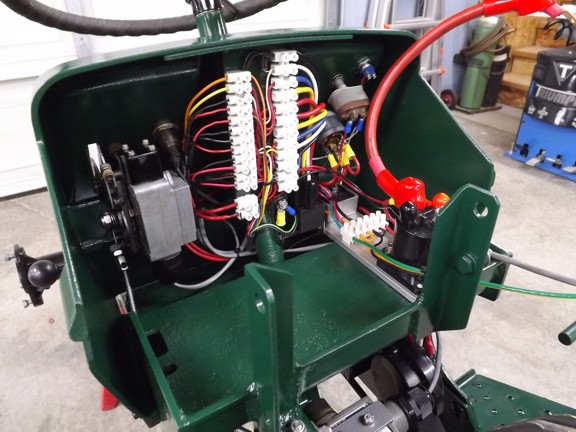
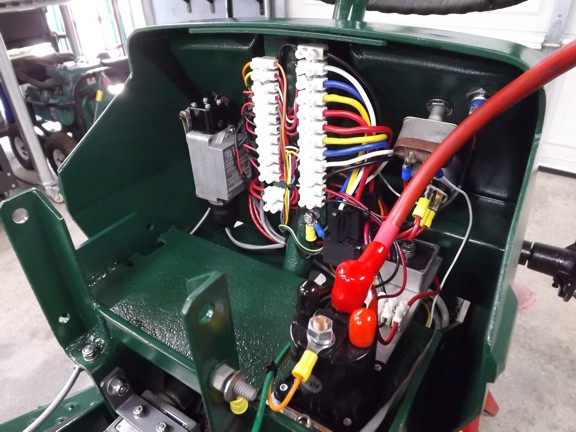
All of the electrics, as the Brits say, were reinstalled at this point.
|
|
|
|
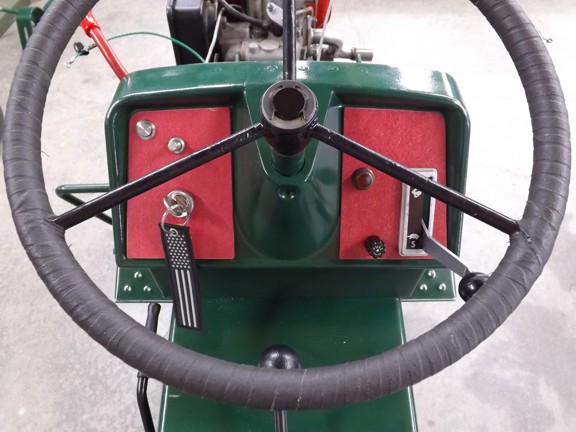
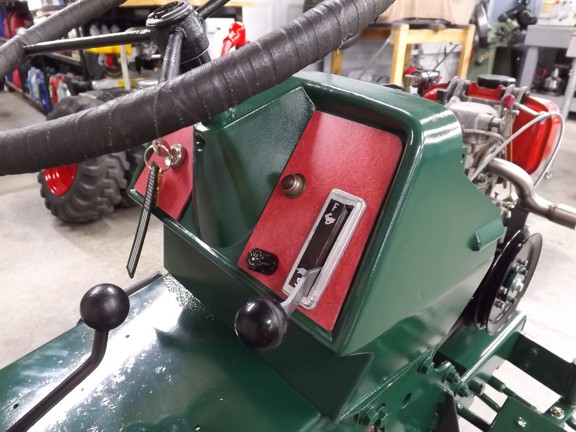
To maintain the two-tone look of the tractor I fabricated some instrument panels out of 1/16 thick red FRP fiberglass panels (type GP03) of which can be engraved or labeled later for control functions...
|
|
|
|
Everything is moving pretty fast at this point.
|
|
|
|
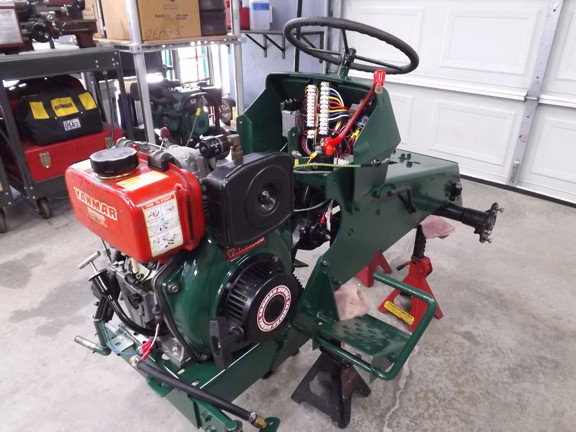
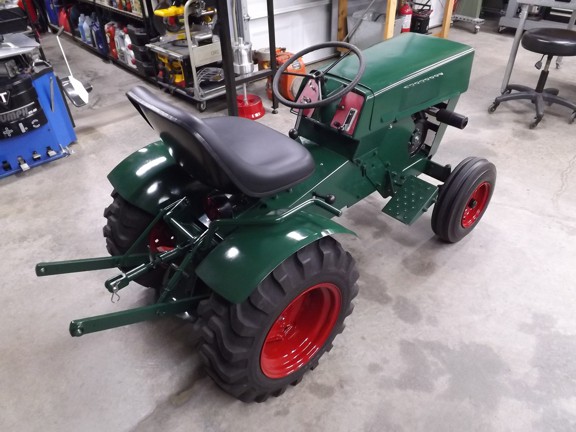
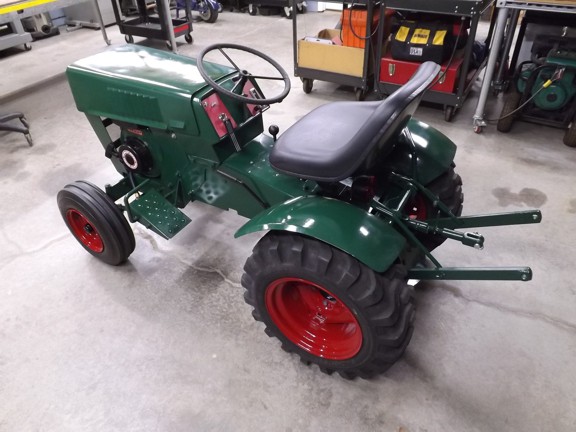
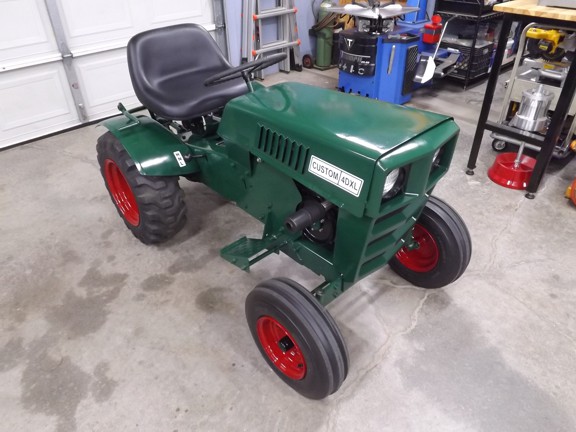
I installed the hood, wheels, seat and hitch assembly to finish off the major components.
|
|
|
|
And wow, what an awesome looking machine :0)
|
|
|
|
I am quite pleased how this build incorporated all of the features I wanted in a diesel tractor and how well it all fit together under the hood :0)
|
|
|
|
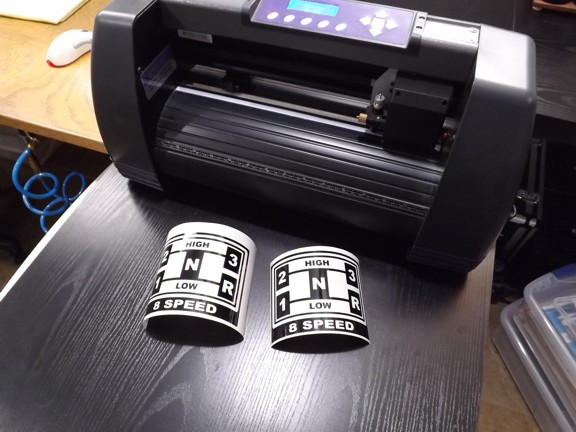
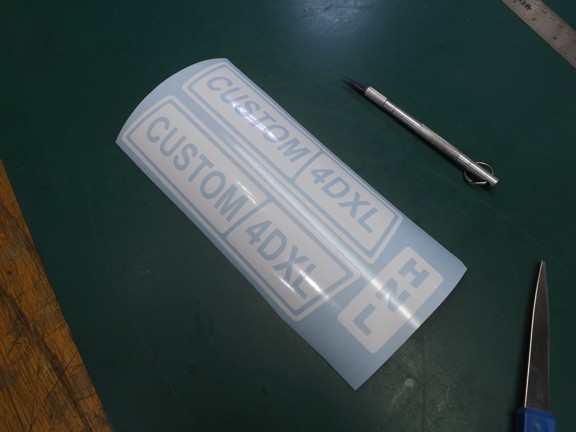
I still needed to finish off a few items including the shift decals which were designed in Corel Draw and cut in vinyl on my USCutter plotter...
|
|
|
|
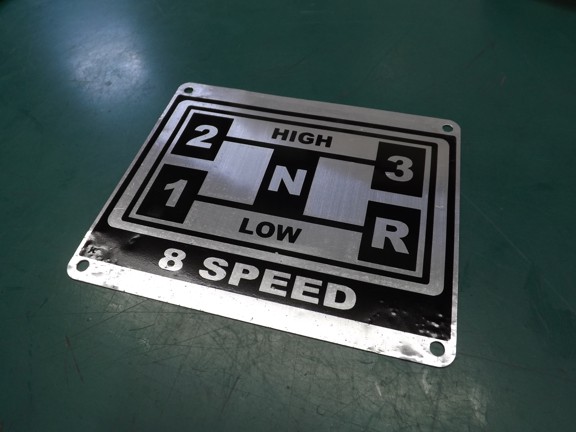
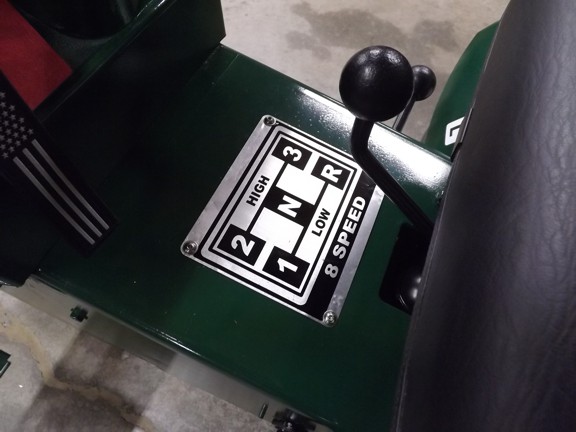
The original shift decal was a silk screened aluminum plate but the sun bleached off the image so I cleaned the plate and added a vinyl sticker to replace the image.
|
|
|
|
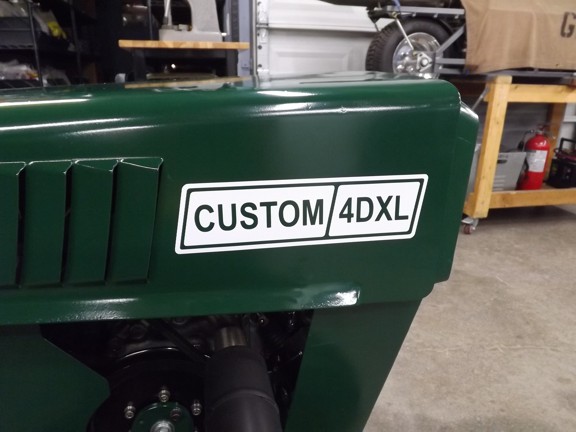
The hood decals were also bleached off so I made a set on my computer. I renamed the tractor from Custom 10XL to Custom 4DXL in reference to the 4 HP diesel engine. I kept the XL because it sounds cool ;0)
|
|
|
|
Ultimately these stickers were temporary as I cut three color ones later to replace these...
|
|
|
|
The shift decal/placard was installed with stainless screws as seen below...
|
|
|
|
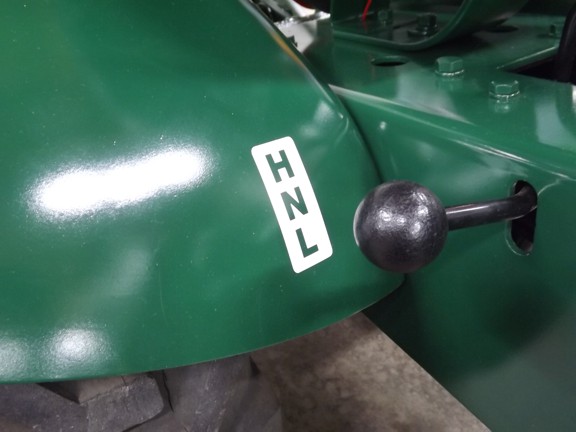
There was a high/low/neutral sticker on the fender that also needed to be applied. This would also be replaced with a two-tone sticker later on...
|
|
|
|
What a cool looking machine! I couldnt wait to start using my new tractor around my property.
|
|