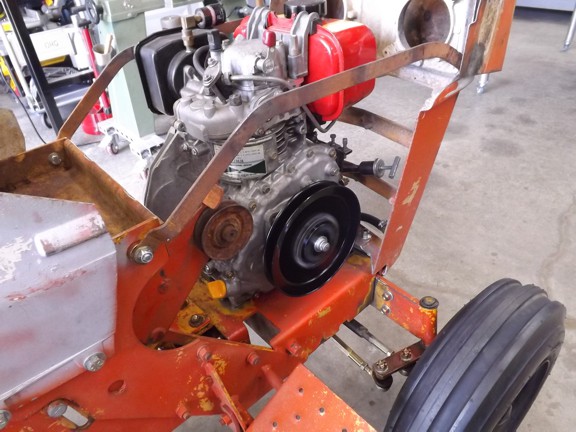
I mounted the new pulley system and ran the engine to check for runout. The pulley ran smooth as silk :o)
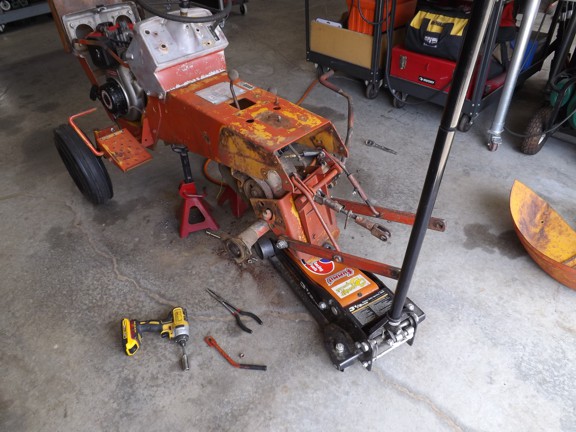
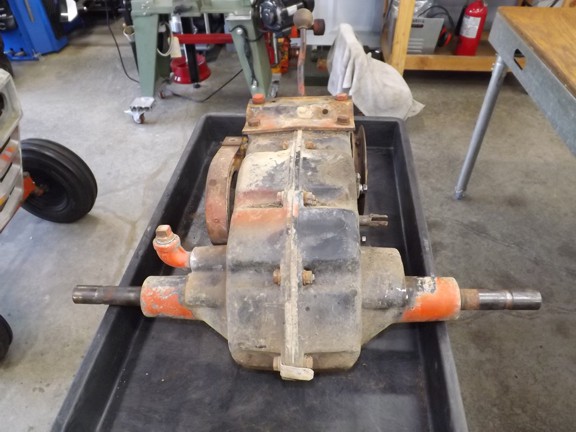
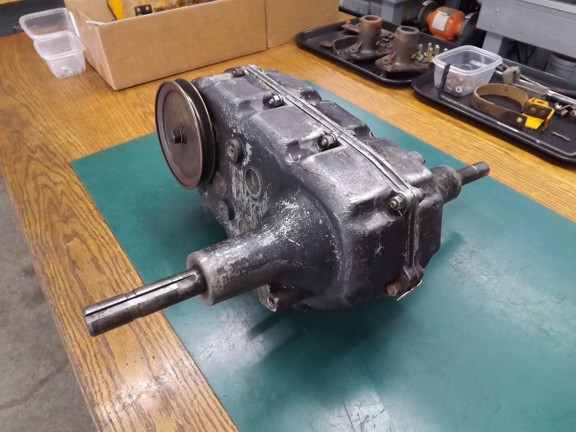
The next project and the most intensive (to my dismay) was the transmission. I had yet to really look at it so I began to drop it from the frame.
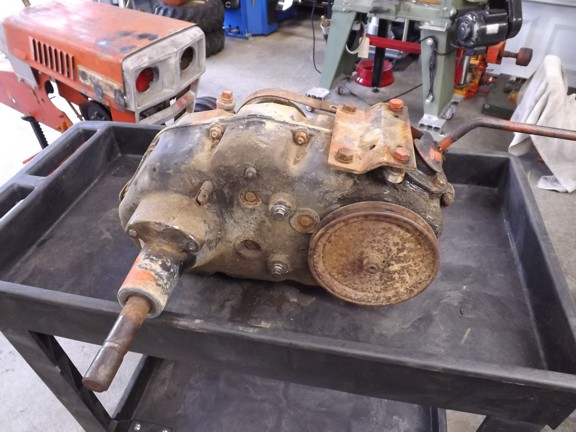
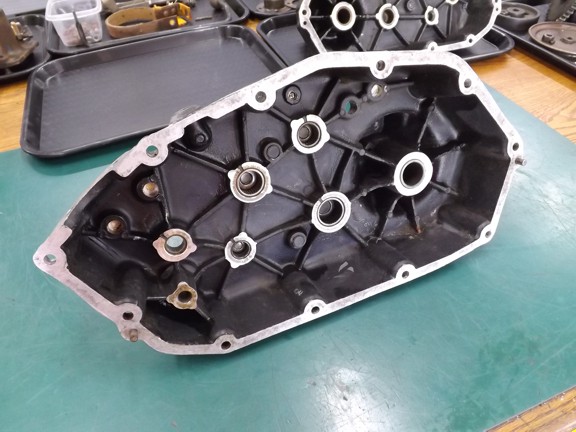
Other than a little grimy it looked useable however it hid a secret that would be a bummer......
Side note: These transmissions were made for Roper/Sears by Peerless Gear (part of Tecumseh Products Corporation) and are really well made for a consumer product.
The transmission looked original and even had the serial number tag on the end.
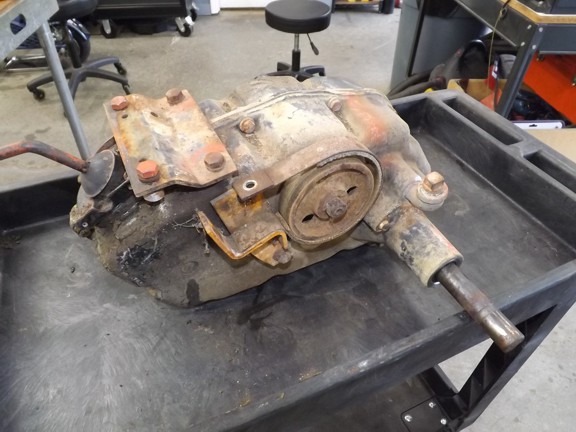
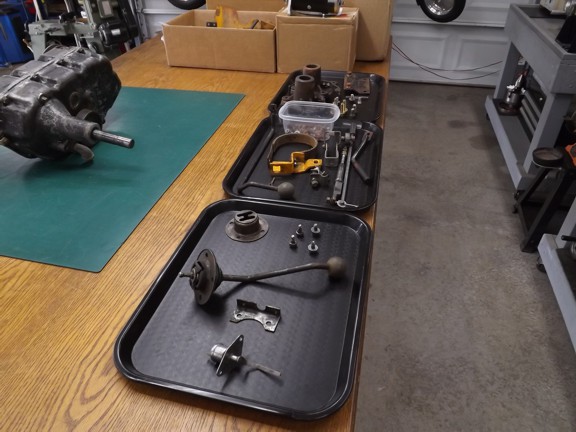
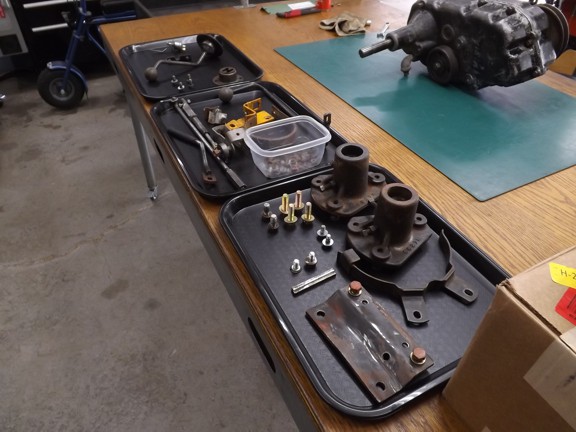
I now began to pull all of the brackets and hardware off of the transmission to sort out and inspect the parts...
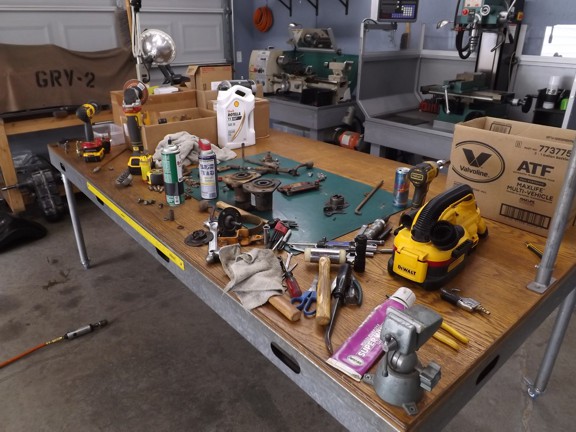
Side note: I recently started using cafeteria trays to organize parts these days. They make a project so much easier !!!
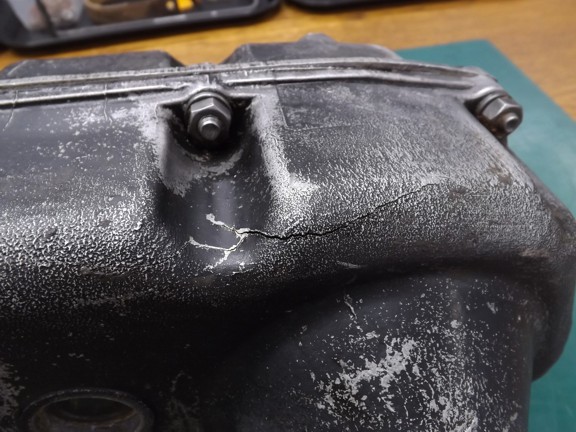
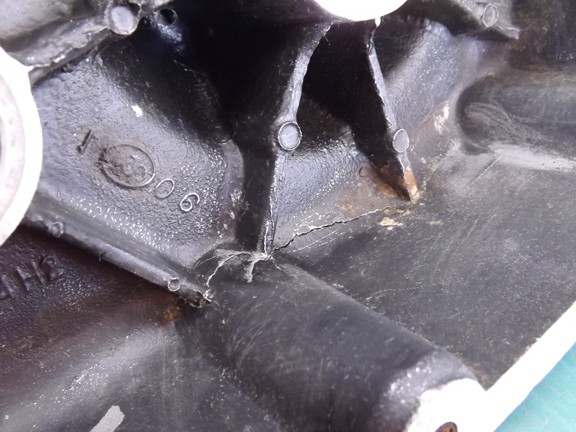
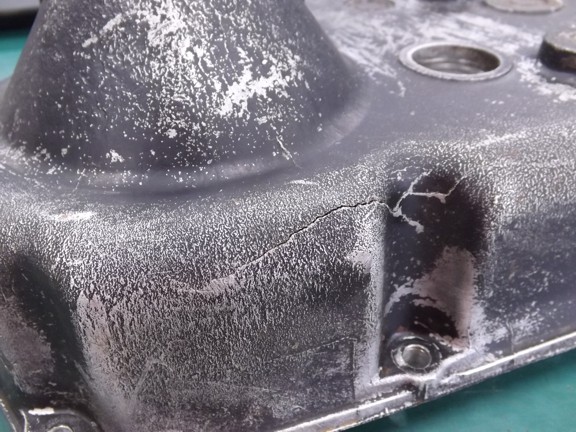
Finally I decided to clean out the gearbox with some diesel fuel and was surprised to see the diesel pour out of the bottom of the gearbox (not shown). It revealed cracks on both sides of the transmission case as seen below. What a bummer!!! The previous owner probably had an adventurous teen that like to jump things with this tractor.
I now had a whole new project I didnt expect but I should of figured this out considering there was very little oil in the case when I took it out of the tractor :o/
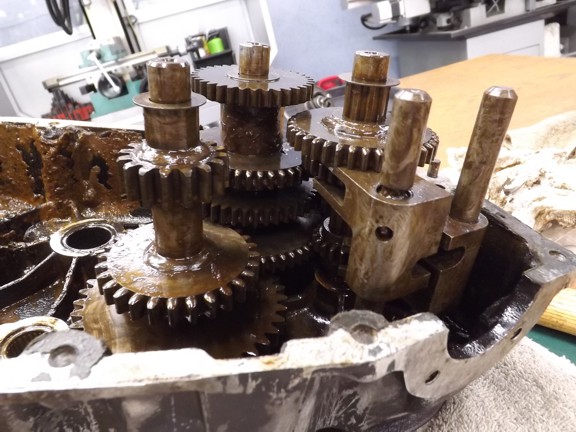
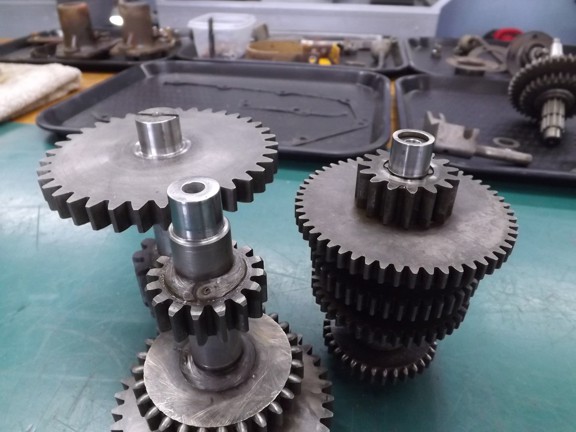
I split the case and luckily I found very little rust which was a good sign for the gears.
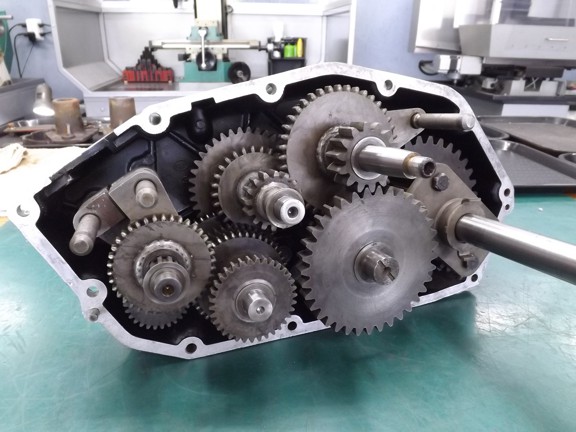
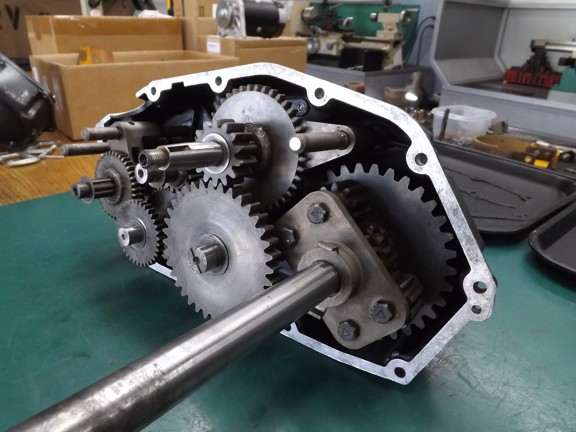
The transmission has six speeds forward, 3 high and 3 low. It also has two reverse gears, 1 high and 1 low for a total of 8 speeds (technically). The transmission also has a differential which is on the final output gear.
I cleaned and inspected the cracks for a possible repair which looked difficult.
The cracks spider in several directions so welding (especially for me) would be difficult but not impossible.
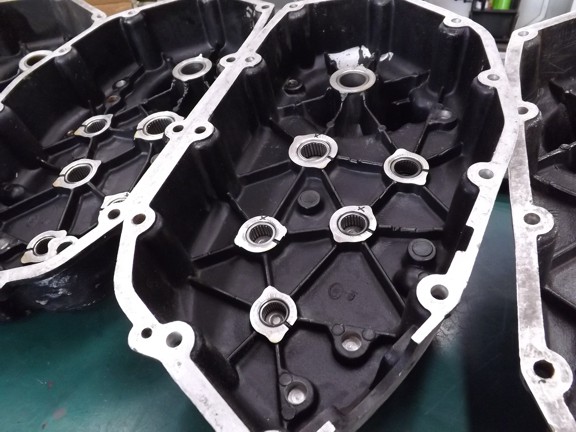
After some internal debate I opted to find a used case on eBay ($100) which looked very similar to the 1971 model but in fact it was not :0<
The case that I ended up getting was from a 1976 Sears SS16 tractor and several of the needle roller bearings in the case were a different size but the same location on center. You can see the holes with an X on them below...
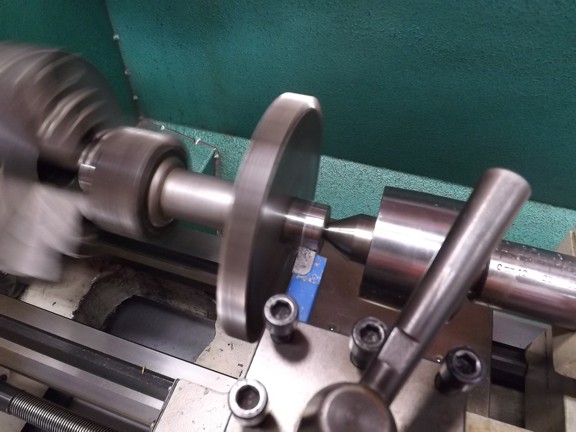
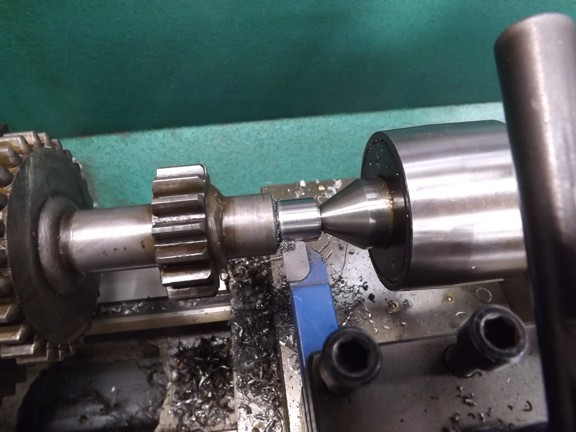
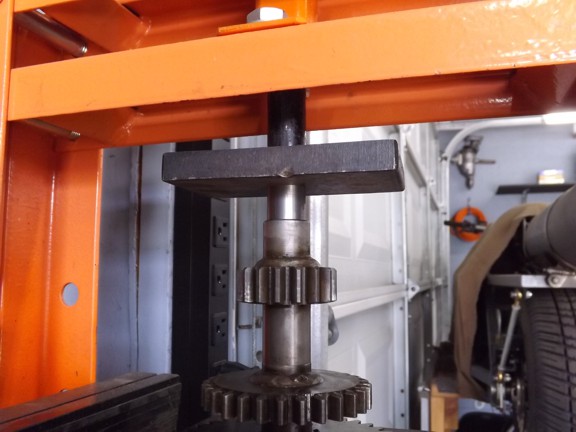
I did not want to accept defeat so I opted to make the gear shafts fit the new case. Using my lathe I turned down the shafts carefully to fit the roller bearings in the new case.
I gradually zeroed in to tolerance by test fitting the shaft (in the case bearing) between cuts over several tries until it fit well.
Normally gear shafts are hardened and ground to tolerance so cutting them like this could pose longevity issues however I feel with the low HP being used that this gearbox will probably last longer than I will be around.
A perfect fit !!! Three more to go...
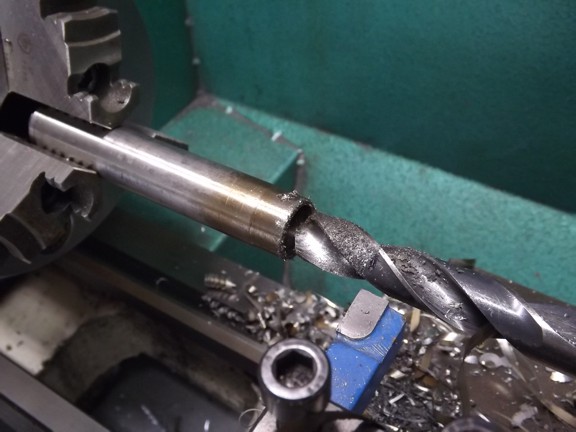
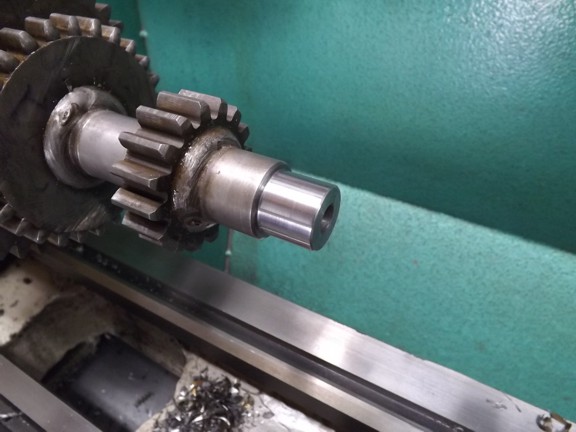
Overall I had one shaft end to cut smaller and three shaft ends to make bigger. For the bigger ones I needed to turn down the original shaft to leave a 0.15 margin for a sleeve to be pressed on.
After cutting down the original shaft ends I bored out some W1 tool steel to make sleeves to be pressed on the shaft ends.
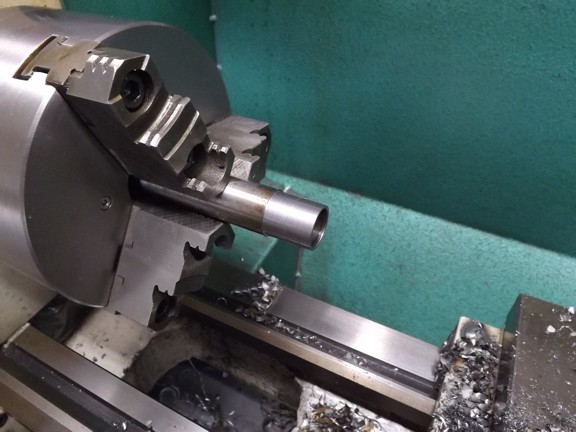
I made the sleeves about 0.002 smaller than the turned down shafts for a press fit. My hopes are that they will stay put and not slip later on.
Once pressed on, the sleeves will grow in size and have to be fine tuned to fit the needle bearings in the new case. This type of steel can be hardened however this would complicate matters with many variables to consider so I chose to forgo the option.
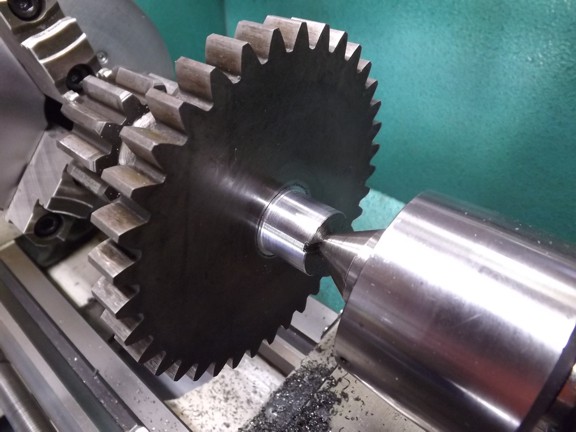
A careful trim and polish on the lathe and we are ready to go !
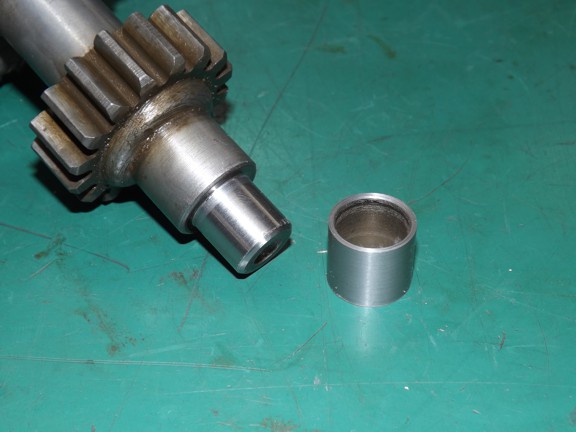
I did this process to two more shaft ends including the shaft below (before sleeve).
And after the sleeve was added...
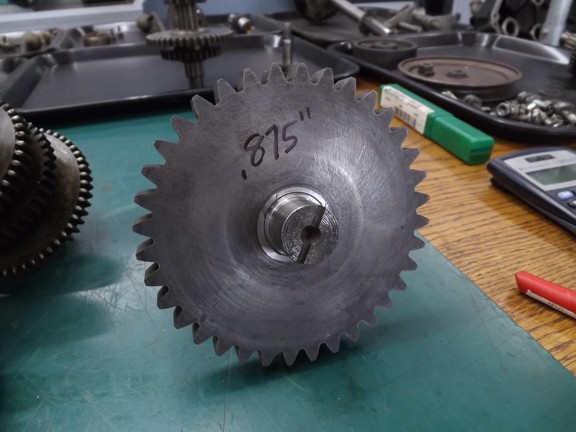
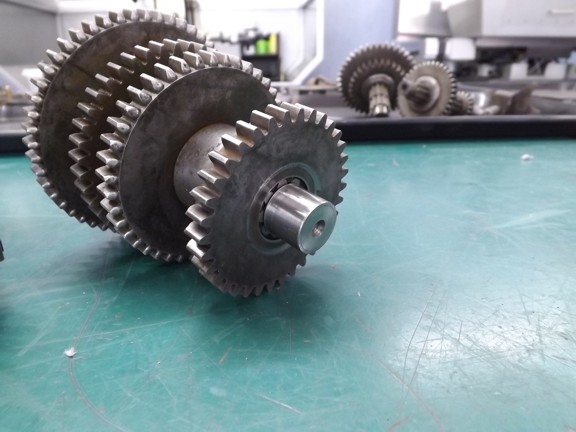
The finished shafts....
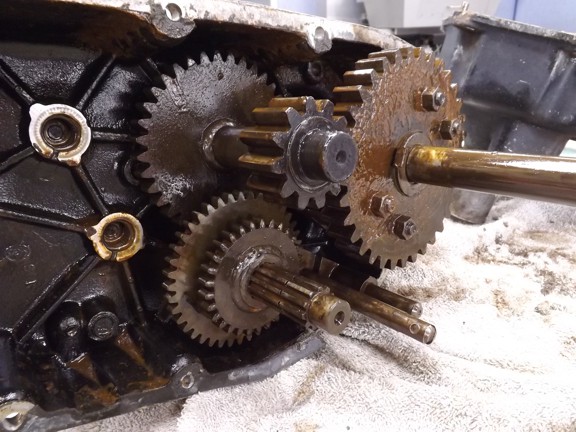
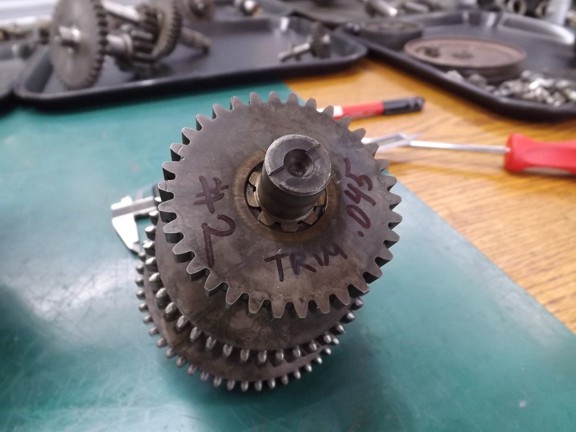
I test fit all of the gears to make sure nothing would bind.
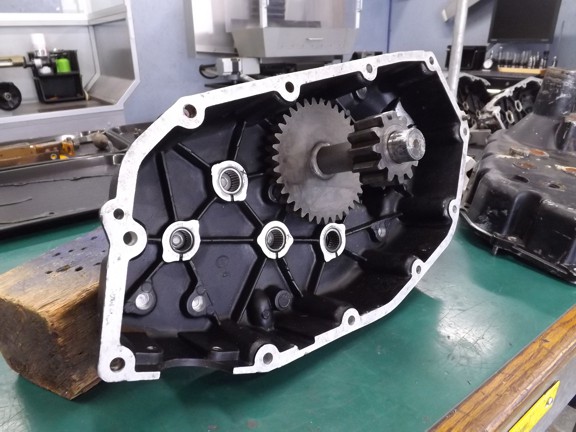
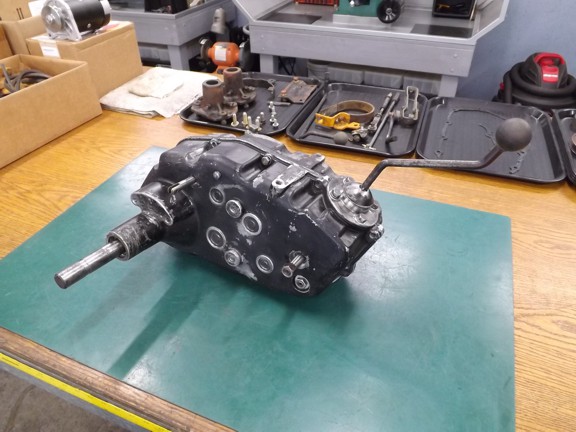
I then bolted up the case to make sure the end clearances were the same of which I had one bearing boss that needed to be trimmed (not shown) to allow the case to close (without the gasket). This should allow for enough end play for friction free operation.