|
|
|
|
|
 |
|
|
Page 18
|
|
|
|
|
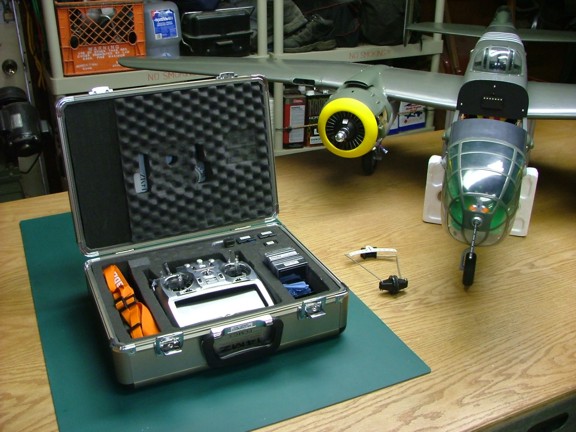
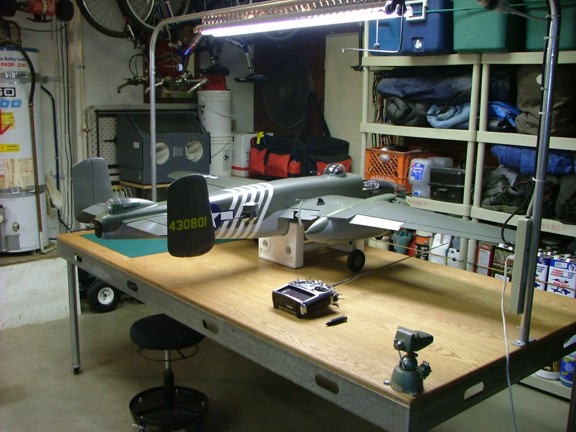
I was now on the home stretch to finishing this beautiful model. All that was left was programming the radio system and setting up the control throws. Luckily I had the luxury of working with the worlds most advanced radio system, the Futaba 14MZ :0)
|
|
|
|
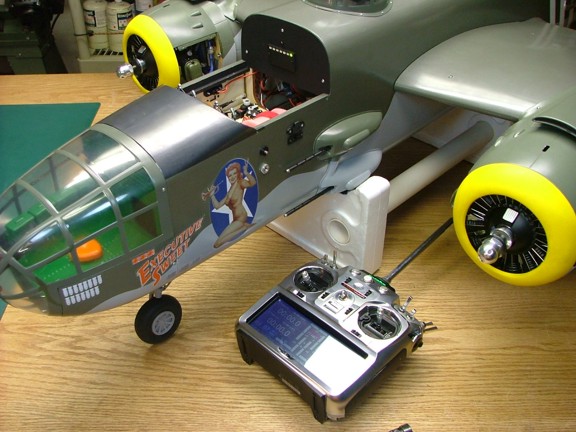
Building a program for the B-25 was a learning experience as I had never programmed a gear door sequencing program in my 14MZ radio before. In fact it was much simpler than I had figured only requiring a few steps to set up. In fact if you are interested in learning how to use the 14MZ as a sequencer feel free to contact me for more info.
|
|
|
|
I went through all of my servo channels and set my end points and sub trims accordingly including my throttles, landing gear valve, landing light switch, nose wheel servo and gear door servos.
|
|
|
|
The channel designation for my B-25 is as follows (for reference):
Channel #1 = Elevator
Channel #2 = Rudders
Channel #3 = Nosewheel
Channel #4 = Left Aileron
Channel #5 = Right Aileron
Channel #6 = Left Flap
Channel #7 = Right Flap
Channel #8 = Left Throttle
Channel #9 = Right Throttle
Channel #10 = Glow Driver Module
Channel #11 = Gear Valve
Channel #12 = Gear Doors
Channel #13 = Landing Lights
Channel #14 = Spare Channel
|
|
|
|
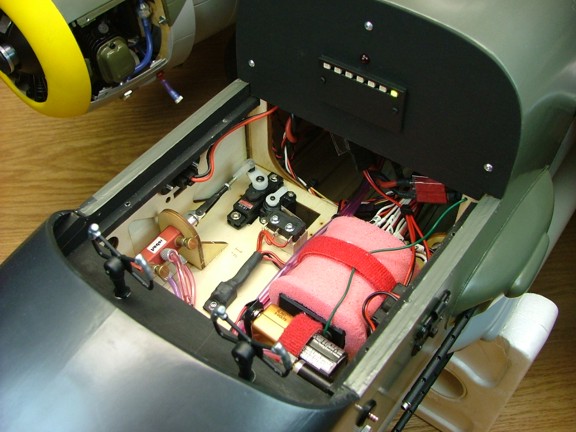
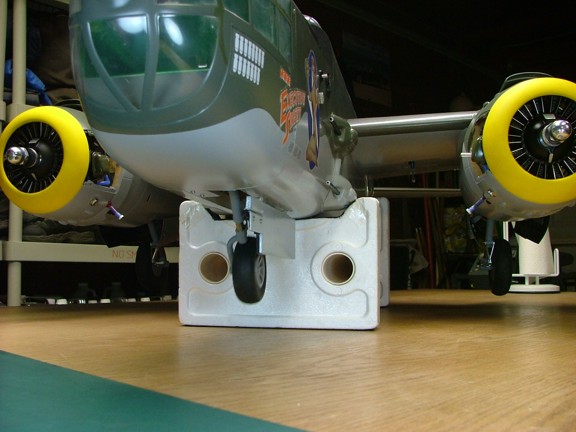
A quick test was in order to observe the sequencing doors in action.
|
|
|
|
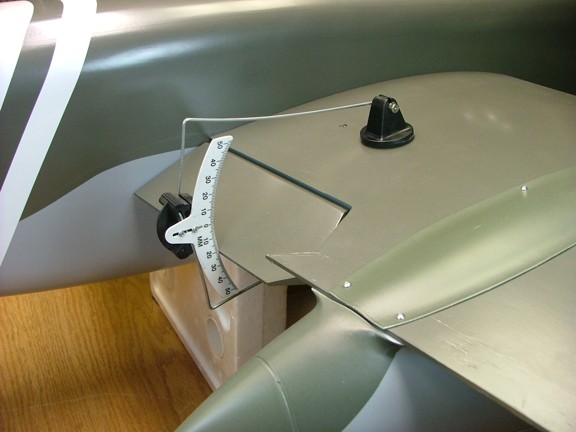
The flaps were set up to deploy 20 mm at half flaps and 40 mm at full (measured at middle of the inboard flaps). Both left and right flap sets were set up on individual channels to allow for trim adjustments later on.
|
|
|
|
The elevator was set up to move 32 mm up and down at high rate and about 25 mm on low rate.
|
|
|
|
The rudders were set up to deflect about 45 mm left and right. The ailerons were set up to move 20 mm up and down at high rate and 10 mm on low rate respectively (measured at root end). The nose wheel steering was set up move about 25 degrees left and right. If anyone is interested in using my radio configuration for their 14MZ radio I will gladly e-mail it to you upon request.
|
|
|
|
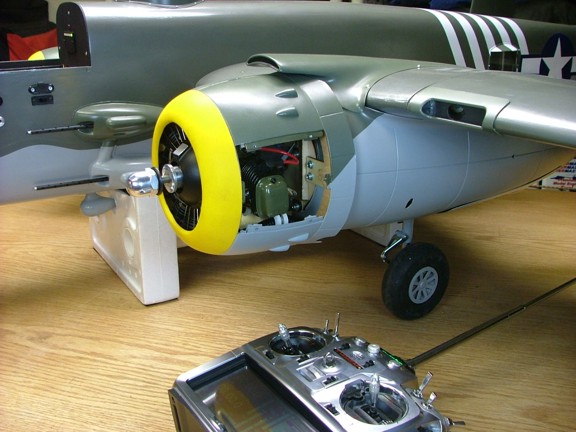
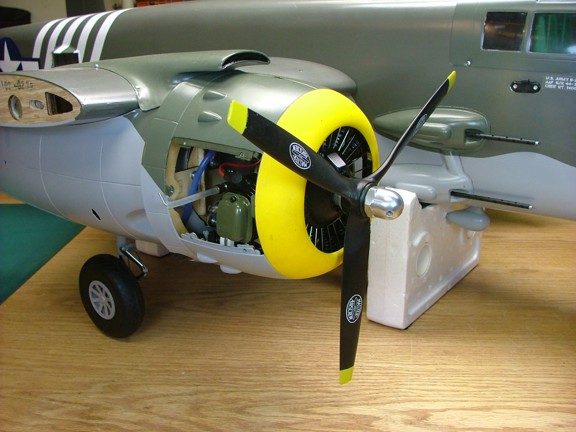
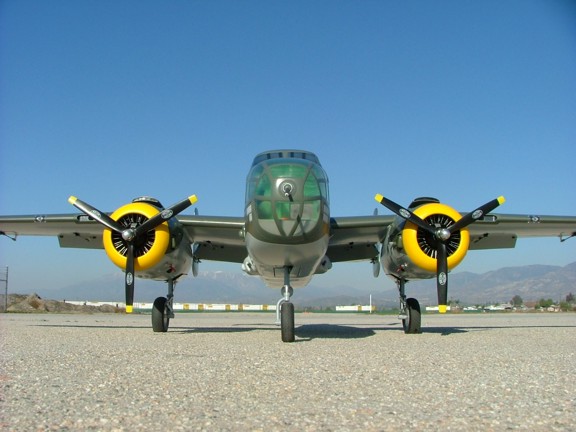
The B-25 was now ready for an engine test and I was super excited to hear the Saito engines run!!!
|
|
|
|
I set up the B-25 on a workbench in the yard and fueled up the tanks in preparation for a first run. I ran both engines at a rich setting for about a half an hour each ensuring a proper break in. Once the engines were leaned out a bit it was time to program a 10 point mix to calibrate the throttle response from one engine to another. Of course this mix may need adjustment as the engines break in but it will be real close regardless
|
|
|
|
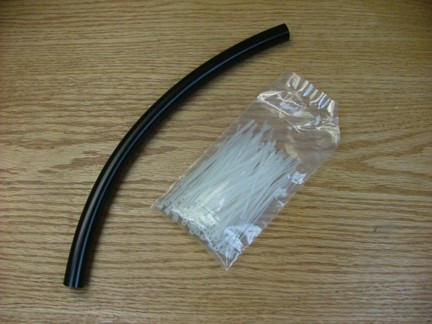
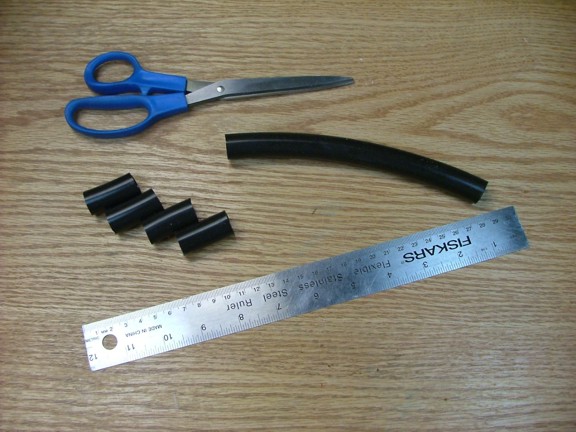
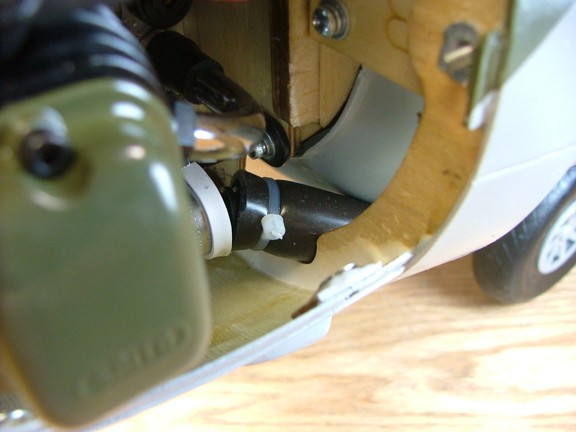
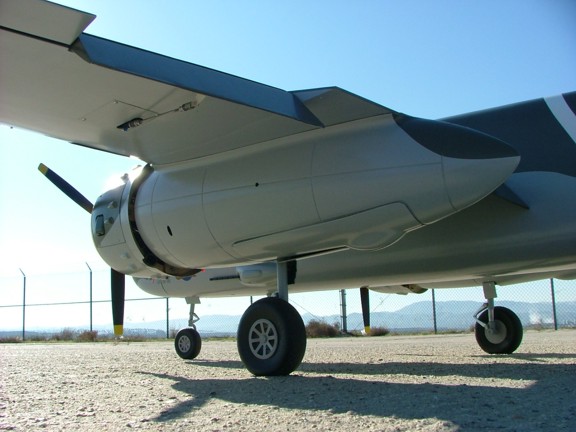
After running the engines thoroughly I noticed a problem with the exhaust pipes. The very end of the pipes were vibrating badly and required some sort of supporting means to prevent fatigue and wear. After some research I devised a way of preventing the pipes from moving by using a short piece of black 1/2 high temp silicone tubing to cushion the pipes. I purchased the silicone tubing from McMaster-Carr (Cat #5236K462) along with some heavy duty 3-1/2 nylon cable ties (Cat #6614K11).
|
|
|
|
I cut out four pieces of the silicone tubing at 35 mm long.
|
|
|
|
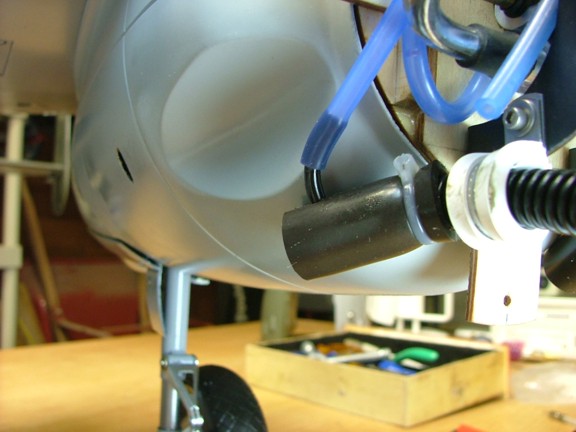
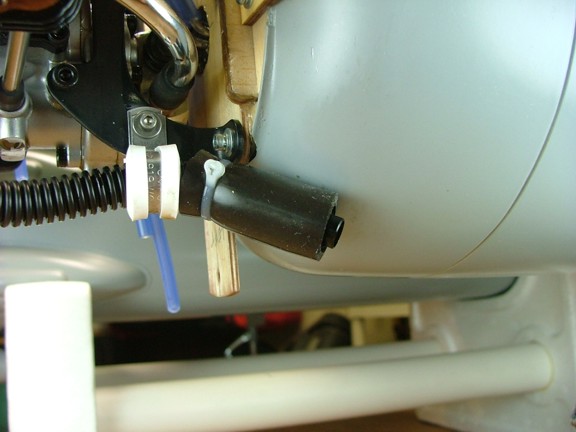
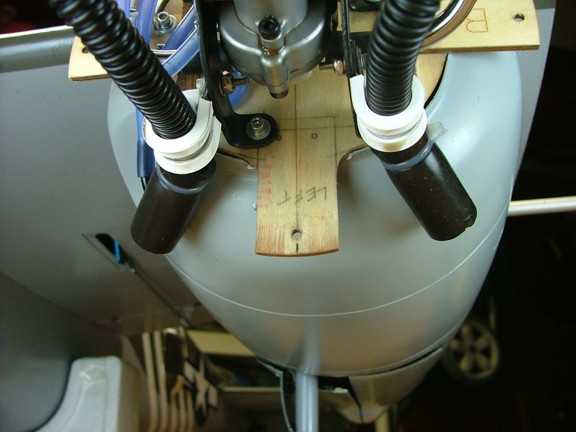
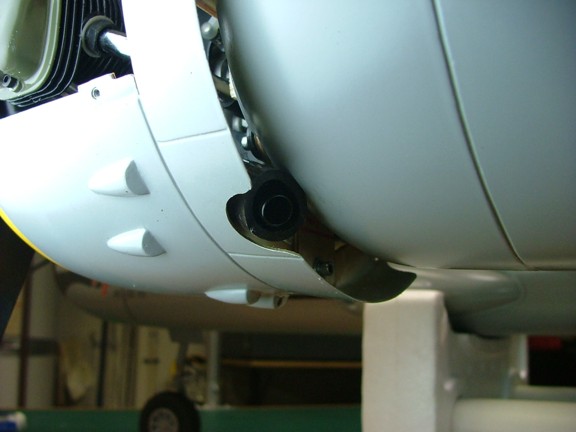
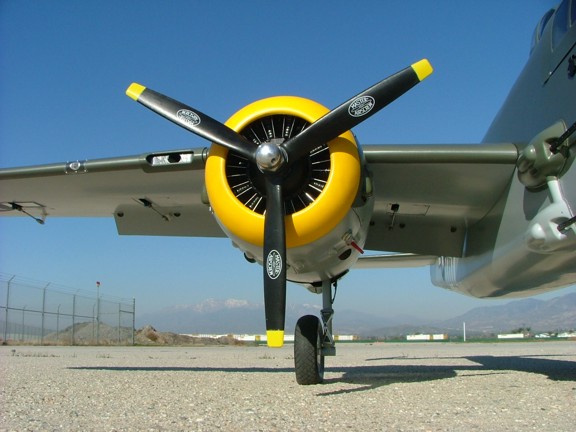
I installed the pieces over the exhaust pipes just flush with the end of the pipes. I then secured the silicone tubing with a heavy duty cable tie as seen below. Notice that the tubing was notched to allow the muffler pressure tap to protrude.
|
|
|
|
The cowls needed to be slightly trimmed to allow for a snug fit of the exhaust tubes.
|
|
|
|
After a short test run of the engines I concluded that the problem was fixed and I could move on to the final stage of completion, the maiden flight!!!
|
|
|
|
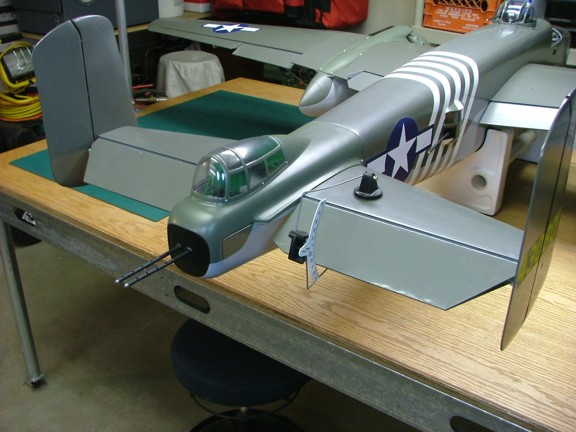
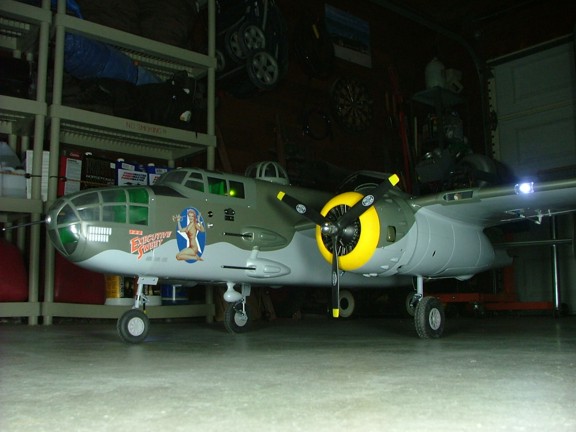
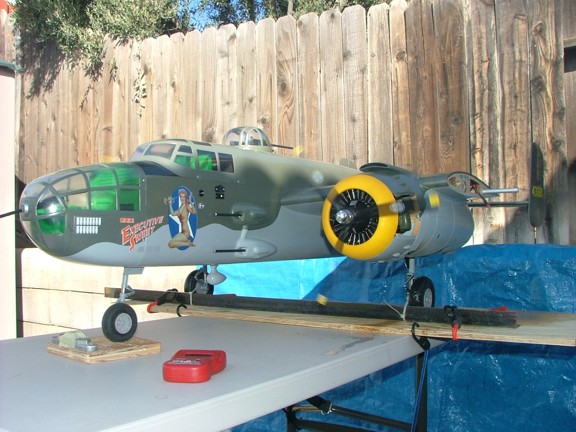
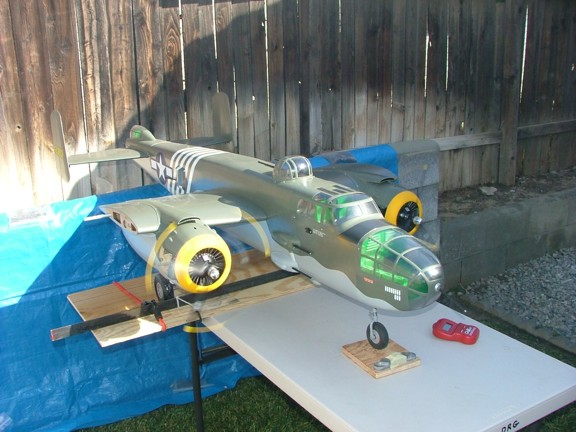
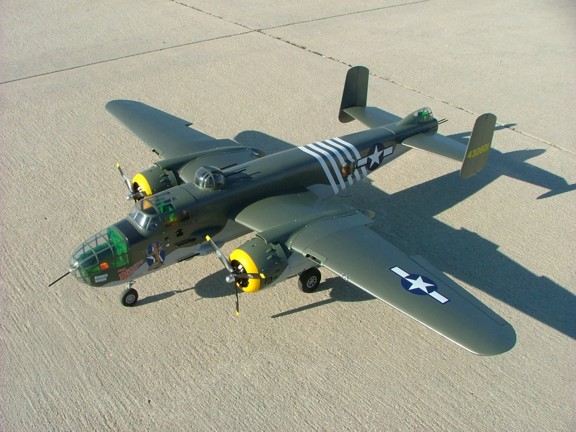
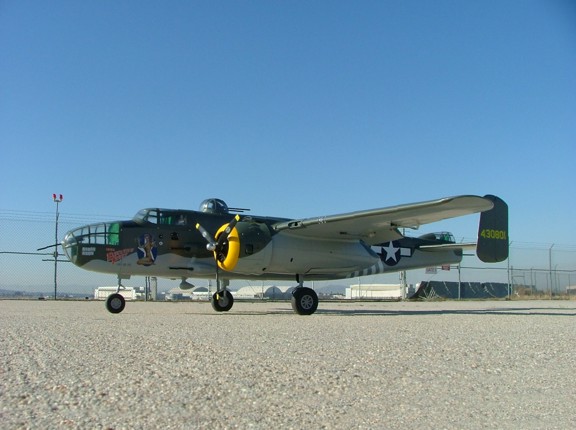
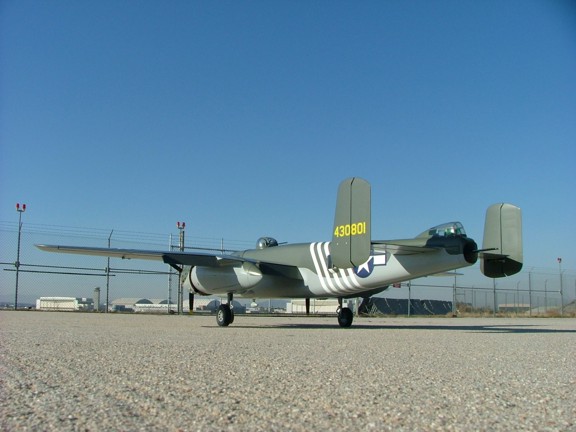
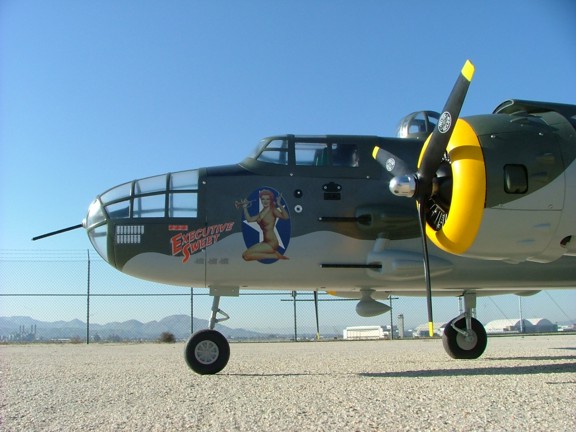
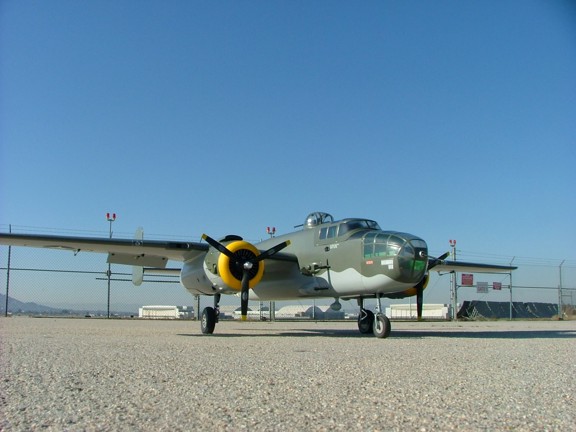
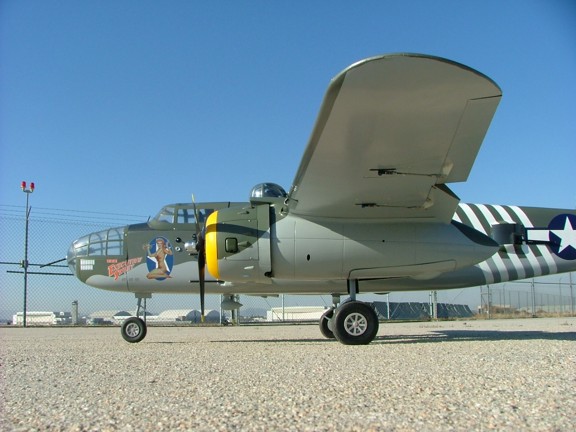
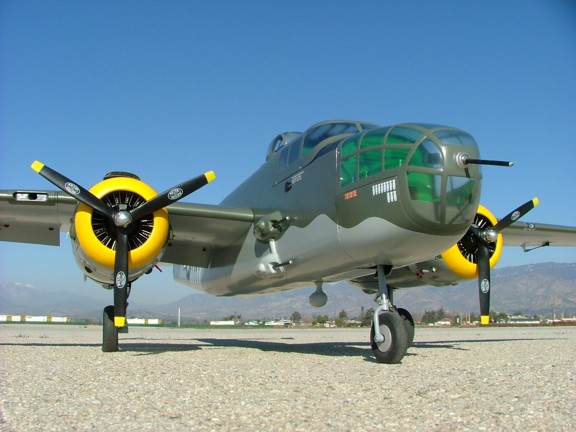
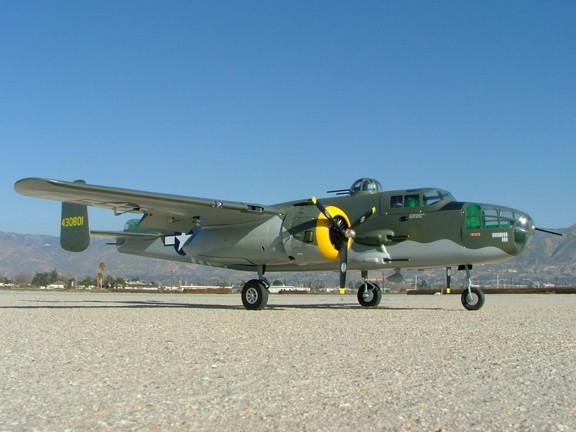
Finally the 22 pound B-25J Mitchell was complete and ready for a test flight. Before she left the ground I took some photos just in case :o)
|
|
|
|
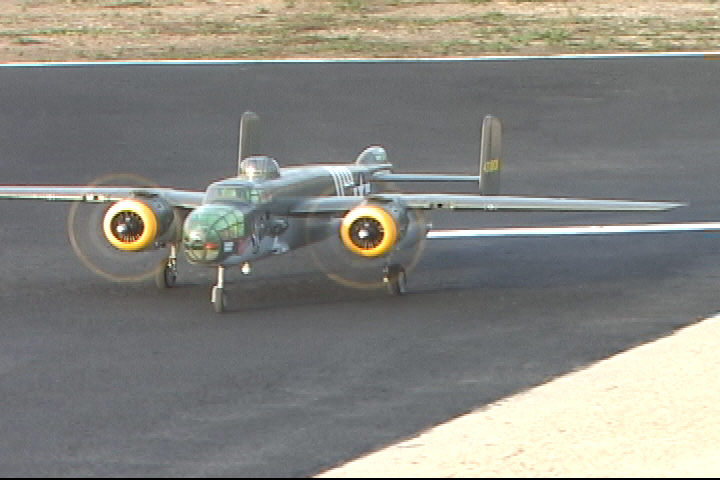
On January 31, 2008 I drove out to Norton AFB in Southern California to test fly my B-25 at the PVMAC field there (Pomona Valley Model Airplane Club). I was excited and nervous to see if the B-25 would handle well with all of the added weight of the engines, glow driver system, retracts and such. There was only one way of finding out so I fueled her up and rolled out on the tarmac.
|
|
|
|
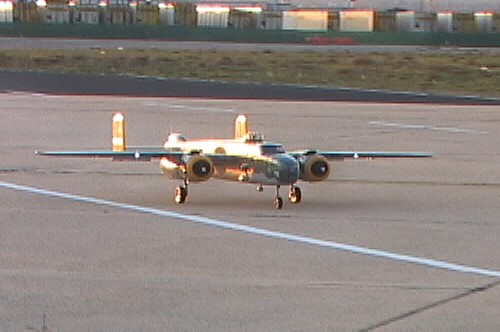
I lined up the B-25 and powered up to full throttle for a rollout. The B-25 responded well to the power up as it gained speed. Once I was comfortable with the rollout speed I rotated the B-25 and climbed out without any problem. I was airborne!!!!!
|
|
|
|
 |
|
|
|
I trimmed out the B-25 and became comfortable with the handling which was slow and predictable. I pulled up the gear and flew several circuits to get a good look at the plane in the air, it was a sight to see. I was very impressed at the sound of the Saito engines as the B-25 cruised overhead. I prepared for a landing approach and dialed in full flaps to see how she handled. Only a slight adjustment in elevator was needed to compensate for the elevator mix (which is currently set at 10.5% down elevator to full flaps).
The B-25 slowed down quickly and needed about 30% power to keep the nose up. I approached the runway and lowered the throttle to about 15% to set her down. The B-25 stalled a little bit as I was flying her too slow and she bounced a bit on the runway to my dismay. Later on I learned to keep the airspeed up a little to prevent stalling on flair out. For the most part the B-25 lands very stable but requires flaps and a bit of power. All in all I could not be more happy with the outcome of this project.
The Top Flite B-25 has fulfilled a dream of mine to own and fly a top notch B-25 model. The models looks and performance out shined my expectations and I recommend this plane to anyone who wants a real crowd pleaser in their fleet.
|
|
|
|
 |
|
|
|
Thanks for reading my article on the Top Flite B-25 kit. I hope some of you found the information in this build helpful and once again I welcome any questions or comments you may have about this project.
Thanks again, Don Giandomenico
|
|